Da ich mich demnächst etwas mehr mit WordPress beschäftigen werden, fange ich heute mal einer Anleitung zur Installation von LAMP an. LAMP steht für Linux, Apache, MySQL und PHP. Alles zusammen ist das Grundgerüst viele Webseiten. Das Linux OS sehe ich mal als installiert an, daher geht es mit den Applikationen weiter.
- Installation von Apache2 als Webserver
yum install httpd
Damit wird der Webserver Apache installiert und mit folgendem Befehl gestartet.
 service httpd start
 httpd starten:                       [ OK ]
Damit bei jedem Neustart eures Servers auch der Apache wieder läuft gebt ihr folgendes ein.
chkconfig httpd on
Der default Dokumentenordner liegt bei CentoOS dann under /var/www/html und das Konfigurationsfile findet ihr unter /etc/httpd/conf/httpd.conf.
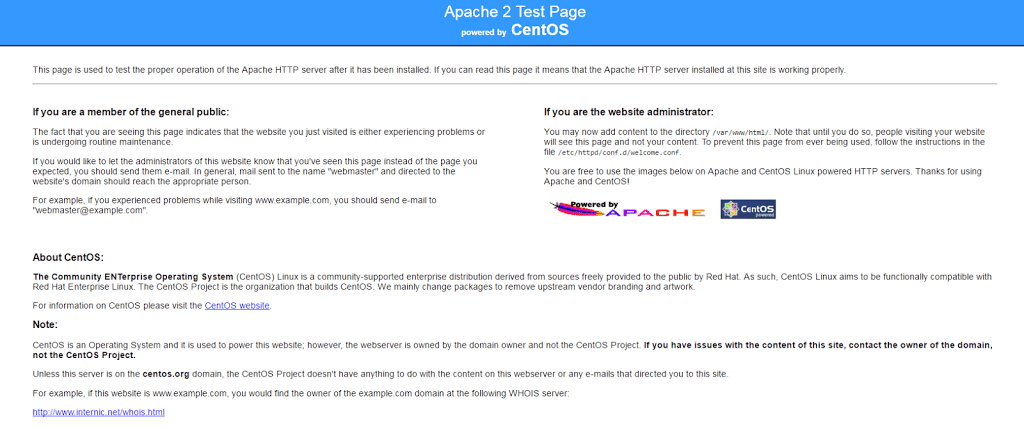
Wenn ihr nun euren Browser öffnet und die IP-Adresse oder den Namen eures Servers angebt, solltet ihr folgende Seite angezeigt bekommen. Sollte es nicht klappen, ist evtl. der Port 80 in der Firewall blockiert.
- Installation von MySQL als SQL Datenbank
Um Daten abzulegen wird noch eine SQL-Datenbank benötigt.
yum install mysql mysql-server
Damit installieren wir die Datenbank und können sie anschließend starten.
service mysqld start
 MySQL-Datenbank initialisieren: Installing MySQL system tables...
 OK
 Filling help tables...
 OK
 To start mysqld at boot time you have to copy
 support-files/mysql.server to the right place for your system
 PLEASE REMEMBER TO SET A PASSWORD FOR THE MySQL root USER !
 To do so, start the server, then issue the following commands:
 /usr/bin/mysqladmin -u root password 'new-password'
 /usr/bin/mysqladmin -u root -h v22016124093541403 password 'new-password'
 Alternatively you can run:
 /usr/bin/mysql_secure_installation
 which will also give you the option of removing the test
 databases and anonymous user created by default. This is
 strongly recommended for production servers.
 See the manual for more instructions.
 You can start the MySQL daemon with:
 cd /usr ; /usr/bin/mysqld_safe &
 You can test the MySQL daemon with mysql-test-run.pl
 cd /usr/mysql-test ; perl mysql-test-run.pl
 Please report any problems with the /usr/bin/mysqlbug script!
                                      [ OK ]
 mysqld starten:                      [ OK ]
Damit wird dieses nicht mehr manuell machen müssen, setzen wir noch den automatischen Start.
chkconfig mysqld on
Anschließend solltet ihr unbedingt das secure_installation Script ausführen. Damit legt ihr ein Passwort für den SQL Root Benutzer fest, entfernt den Anonymous Account und noch ein paar weitere Dinge.
mysql_secure_installation NOTE: RUNNING ALL PARTS OF THIS SCRIPT IS RECOMMENDED FOR ALL MySQL SERVERS IN PRODUCTION USE! PLEASE READ EACH STEP CAREFULLY! In order to log into MySQL to secure it, we'll need the current password for the root user. If you've just installed MySQL, and you haven't set the root password yet, the password will be blank, so you should just press enter here. Enter current password for root (enter for none): OK, successfully used password, moving on... Setting the root password ensures that nobody can log into the MySQL root user without the proper authorisation. Set root password? [Y/n]ENTERNew password:deinrootsqlpasswortRe-enter new password:deinrootsqlpasswortPassword updated successfully! Reloading privilege tables.. ... Success! By default, a MySQL installation has an anonymous user, allowing anyone to log into MySQL without having to have a user account created for them. This is intended only for testing, and to make the installation go a bit smoother. You should remove them before moving into a production environment. Remove anonymous users? [Y/n]ENTER... Success! Normally, root should only be allowed to connect from 'localhost'. This ensures that someone cannot guess at the root password from the network. Disallow root login remotely? [Y/n]ENTER... Success! By default, MySQL comes with a database named 'test' that anyone can access. This is also intended only for testing, and should be removed before moving into a production environment. Remove test database and access to it? [Y/n]ENTER- Dropping test database... ... Success! - Removing privileges on test database... ... Success! Reloading the privilege tables will ensure that all changes made so far will take effect immediately. Reload privilege tables now? [Y/n]ENTER... Success! Cleaning up... All done! If you've completed all of the above steps, your MySQL installation should now be secure. Thanks for using MySQL!
- Installation von PHP
yum install php
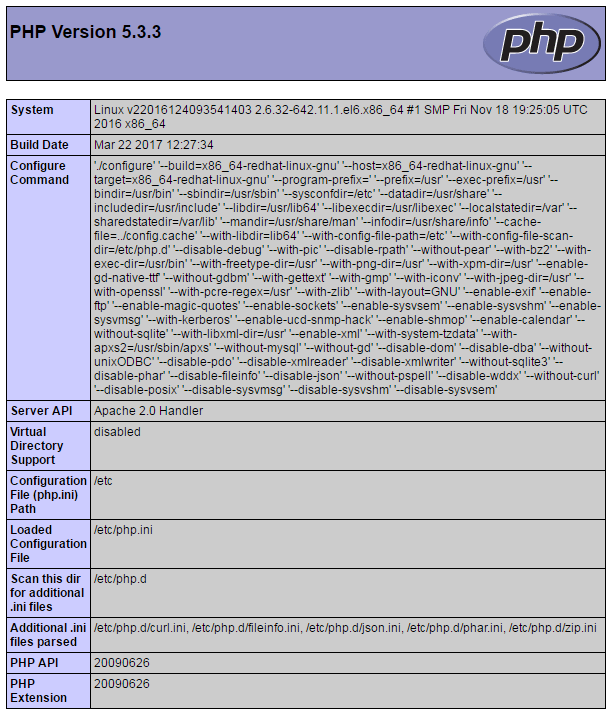
Anschließend könnt ihr in eurem Dokumentenverzeichnis eine info.php anlegen.
vi /var/www/html/info.php <?php
phpinfo();
?>
Nachdem ihr den Webserver neu gestartet habt, könnt ihr über die Adresse http://yourserver/info.php testen ob die Installation erfolgreich war.
 service httpd restart
 httpd beenden:                       [ OK ]
 httpd starten:                       [ OK ]
Diese Infoseite solltet ihr nun angezeigt bekommen.
Damit habt ihr die Installation eures LAMP abgeschlossen und könnt nun weiter machen.
